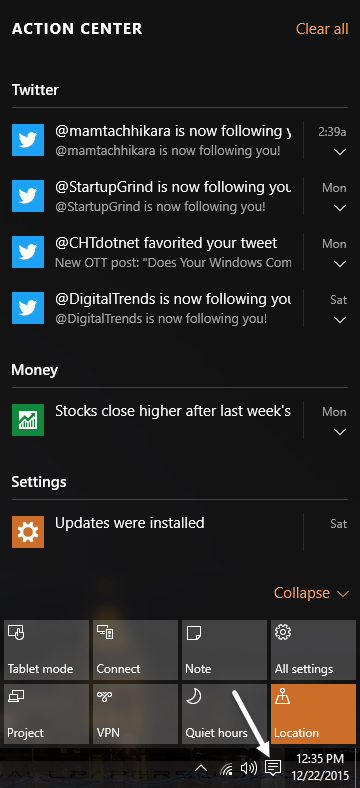
It also has action buttons that allow you to perform certain tasks quickly like switching to tablet mode, creating a note, connecting to a VPN, etc. In this article, I will talk about how you can customize the taskbar, notification area, and action center in Windows 10. If you’re only interested in one section, just skip down to the appropriate header.
Windows 10 Taskbar
Start Menu
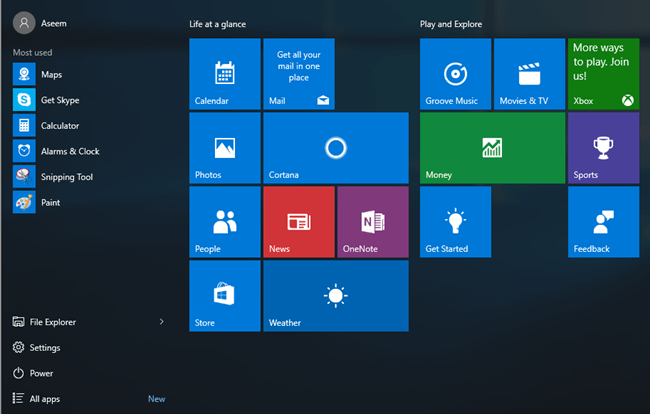
So what’s new in the Windows 10 taskbar? Quite a few things actually. Firstly, we have a functioning Start button again with links to apps, settings, etc., which has made many people very happy.
The Start menu is a whole different beast, so I’ll be writing a separate post on how to customize it. Basically, it’s a combination of the Windows 7 start menu and the Windows 8 start screen. It’s actually fairly useful and I like it more than the standard start menu in Windows 7.
Cortana & Search
Right next to the start button is a new search box that also integrates Cortana, Microsoft’s virtual assistant software. You’ll see the I’m Cortana. Ask me anything. message if Cortana is enabled.
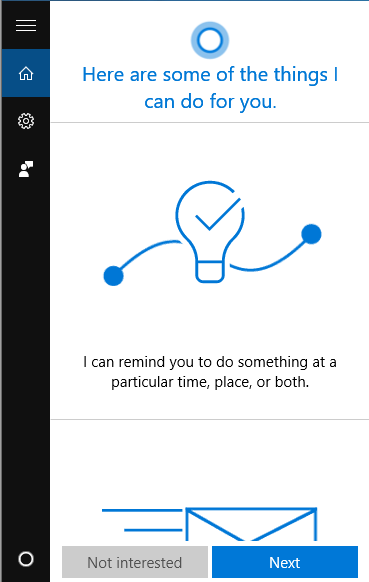
When you click in the search box, you’ll be asked if you are interested in enabling Cortana or not. If you click on Not interested, Cortana will be disabled, but you can still search the computer and web.
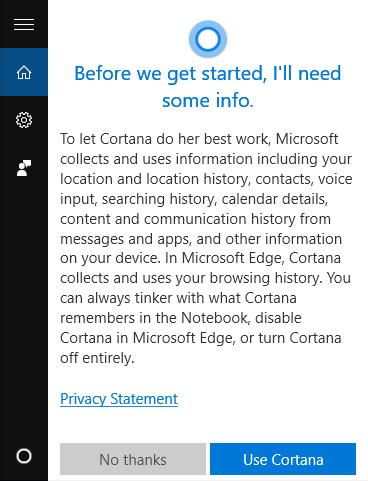
If you want use Cortana, click Next and follow the instructions. Note that you give up a lot of your privacy when you enable Cortana. Before you click the Use Cortana button, you’ll see a list of items that gets sent to Microsoft from your computer including location, searching history, calendar details, voice input, browsing history from Edge, and lots more. Many people have complained that way too much info gets sent to Microsoft and it’s probably true.
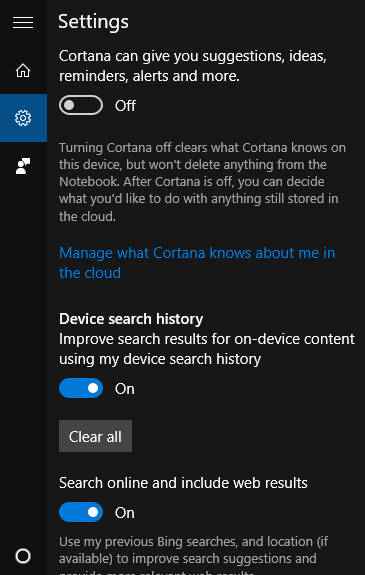
In order to use Cortana, you also need to sign in with a Microsoft account. If you want to change Cortana settings, just click on the gear icon at the left and you can turn it off or on, enable or disable Bing search, etc.
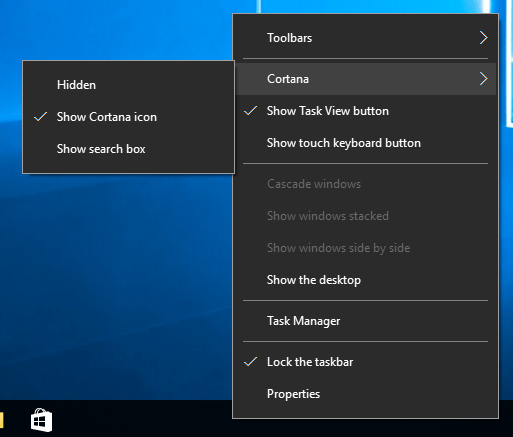
If you don’t like how much space the Cortana search box is using up, just right-click on the taskbar, go to Cortana and choose from Hidden or Show Cortana icon.
The first option will remove it entirely and the second one will simply use a search icon.
Task View
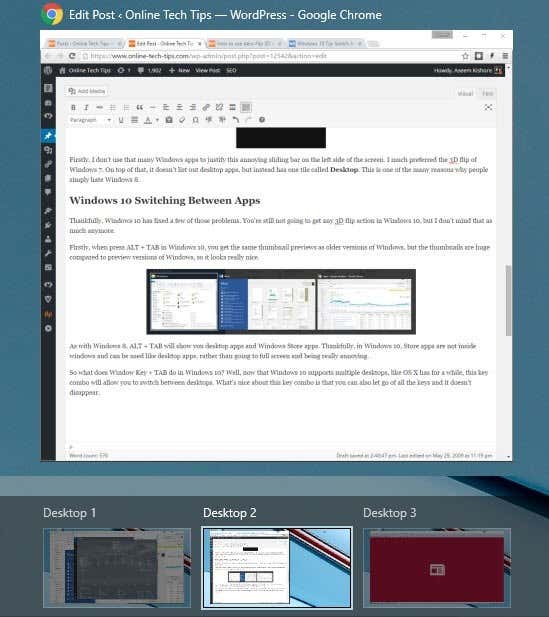
The next new item on the Windows 10 taskbar is the Task View button. It’s basically like Mission Control on OS X if you have ever used a Mac. If you click on it, it will show you all the open apps on the current desktop and it will also show you any other desktops. In Windows 10, multiple desktops are finally an built-in feature. You can hide or show the Task View button by right-clicking on the taskbar and clicking on the Show Task View button option.
You can also get into task view by using the hotkey Windows Key + TAB. I’ve already written a detailed post on how you can switch between programs and desktops in Windows 10, so be sure to check that out. Overall, it’s an excellent feature and works very well.
Taskbar Properties
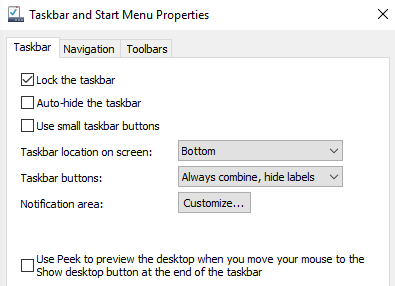
If you right-click on the taskbar and choose Properties, you can customize a few more settings related to the taskbar.
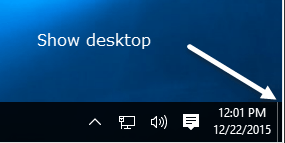
This screen is very similar to older versions of Windows: you can lock the taskbar, set it to auto-hide and use small taskbar icons. You can also adjust the location of the taskbar to the left, right or top. Lastly, you can choose how you want to combine icons in the taskbar. By default, multiple windows from the same app will be combined. At the very bottom, you can also enable Peek to quickly preview the desktop when you move your mouse over the Show Desktop button. The Show Desktop button is still at the very far right of the taskbar and is now a tiny slice you can barely see.
Windows 10 Notification Area
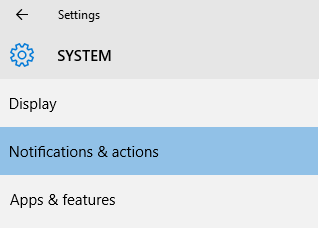
Now let’s talk about the notification area in Windows 10. It’s pretty similar to the notification area in Windows 7, but it also has the Action Center icon, which is the icon at the farthest right that looks like a piece of paper with text on it. To configure the notification area, you can either right-click on the taskbar, choose Properties, and click on the Customize button next to Notification area or you can click on Start, go to Settings, click on System and then click on Notifications & actions.
On this screen, you can actually customize both the notification area and the Action Center. First, let’s talk about the system tray and icons.
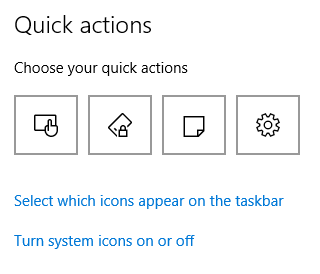
Click on Select which icons appear on the taskbar to choose all the different app icons you would like to have appear in the main area of the taskbar.
Note that if the value is set to Off, the icon will appear in the “extra icons” section that shows up when you click on the little up arrow. If you switch it to On, the icon will move from the extra icons section to the main taskbar.
It’s worth noting that you can also move icons yourself by just clicking and dragging an icon between the taskbar and the extra icons section. That’s actually easier than going through the settings. If you click on Turn system icons on or off, you can choose which system icons will appear in the taskbar. You can pick from Clock, Volume, Network, Power, Input Indicator, Location, and Action Center.
So from here, you can even turn off the Action Center, if you don’t find it useful. If you go back to the main Notifications & actions page, you’ll see the Notifications section. This section controls which notifications you get, from which apps and where they appear.
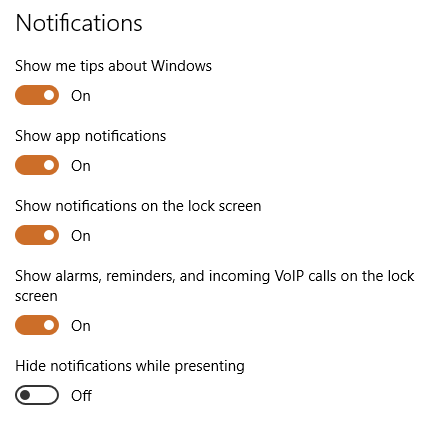
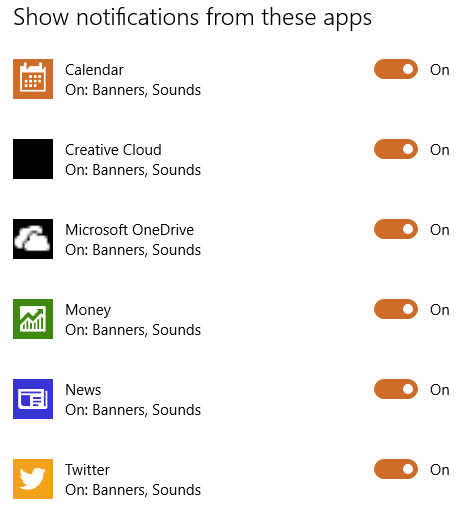
If you disable the first two options (Show me tips about Windows and Show app notifications), you’ll pretty much stop getting any notifications from Windows other than system messages. App notifications are the most common notifications you’ll see in Windows. You can also choose whether or not you want notifications on the lock screen. For privacy purposes, some users might want to disable notifications on the lock screen. Lastly, you can enable hiding of notifications while presenting. Directly below this section is the individual notification settings for each app. If you get a lot of notifications from a particular app, you can turn just that one off and still get notifications from other apps.
Windows 10 Action Center
Lastly, we have the Action Center. If you click on that little icon in the taskbar, you’ll see a windows slide in from the right hand side of the screen.
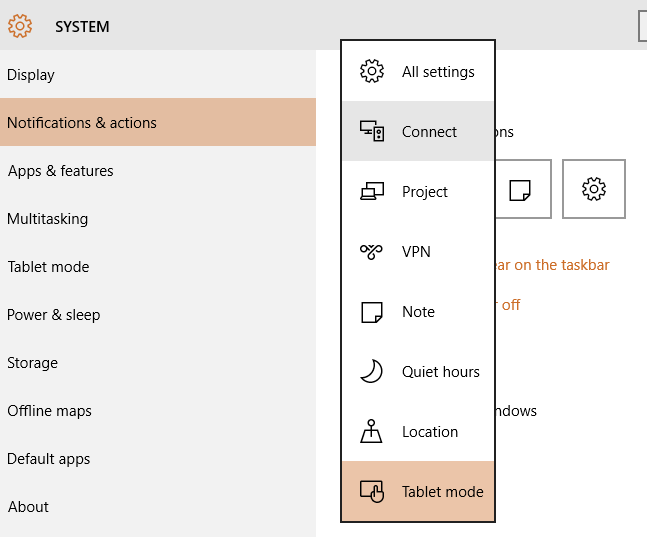
Here you will see a scrolling list of all notifications from the system and from apps. At the bottom of the screen are the quick actions I was talking about earlier in this article. You can change which icons appear here by clicking on the icons at the top in Settings and picking a different icon.
On desktops, you’ll pretty much see all the possible actions listed, but on laptops, you may only see one row of four icons. Currently, you can pick from All Settings, Connect, Project, VPN, Note, Quiet hours, Location and Tablet mode. Some of these only really apply to laptops or tablets and won’t make much sense for a desktop. So that’s basically all there is to customizing the taskbar, notification area and action center in Windows 10. It’s a big improvement over Windows 8 and has enough new features to make the switch from Windows 7 seem sensible. If you have any questions, feel free to ask. Enjoy!

![]()
![]()
![]()
![]()
