Whether it’s due to hardware issues or software incompatibility problems, a blue screen on Mac always feels rather unfortunate. Other than that, unnecessary login items, damaged startup permissions, and an Outdated OS can also result in a blue screen. Whatever the cause, there are some quick fixes to help you solve your problem. The steps discussed below should be performed while your system is booting up, and hence, they shall fix any startup issues you’re facing.
How to Fix Blue Screen on Mac?
Listed below are all the steps you can take to boot normally into your system whenever you encounter a blue screen. Follow all these steps until one of them fixes the issue for you.
Disconnect External Peripherals and Restart
A major reason for a Mac to return a blue screen is incompatibility with certain hardware devices. Non-Apple devices are mainly known to cause this issue on Apple computers. So, we recommend that you disconnect every third-party external peripheral. If possible, remove the RAM and the PCI cards too. Then, if you notice that your system is starting to perform effectively after a fresh restart, you can gradually plug back the external devices one by one.
Boot in Safe Mode
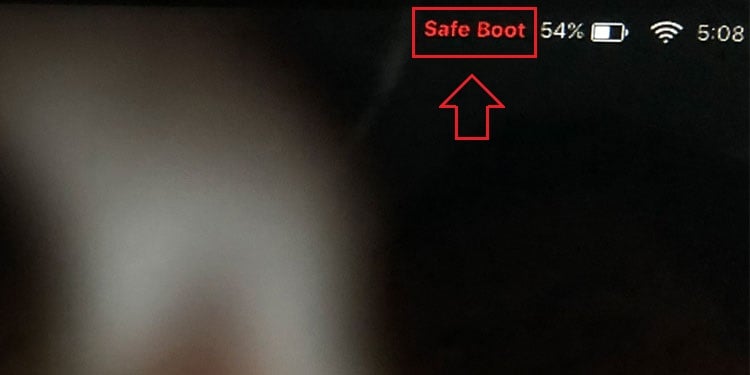
Third-party applications are sometimes known to get in conflict with the Mac operating system. And when this happens, your computer fails to perform its normal functions efficiently. In this case, you have to remove these misbehaving third-party apps from your computer. For this, a safe boot is the best option. The safe mode is an OS feature that utilizes only the minimum required drivers and interfaces. No system resources are allocated to any non-mandatory processes, and hence,
For Macs With Intel Chips
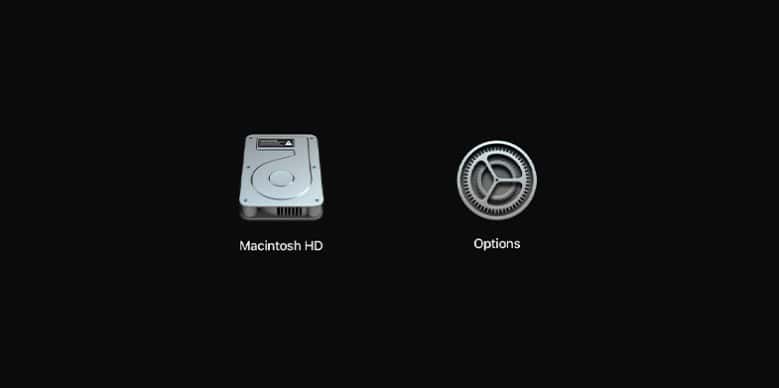
For Macs With M1 Chips
If you notice that your computer works fine in safe mode, it’s pretty much certain that third-party extensions are working on your operating system’s kernel mode. In such a case, you have to track the extension back to the original application and delete this application from your computer. So,
First Aid Your Main Disk
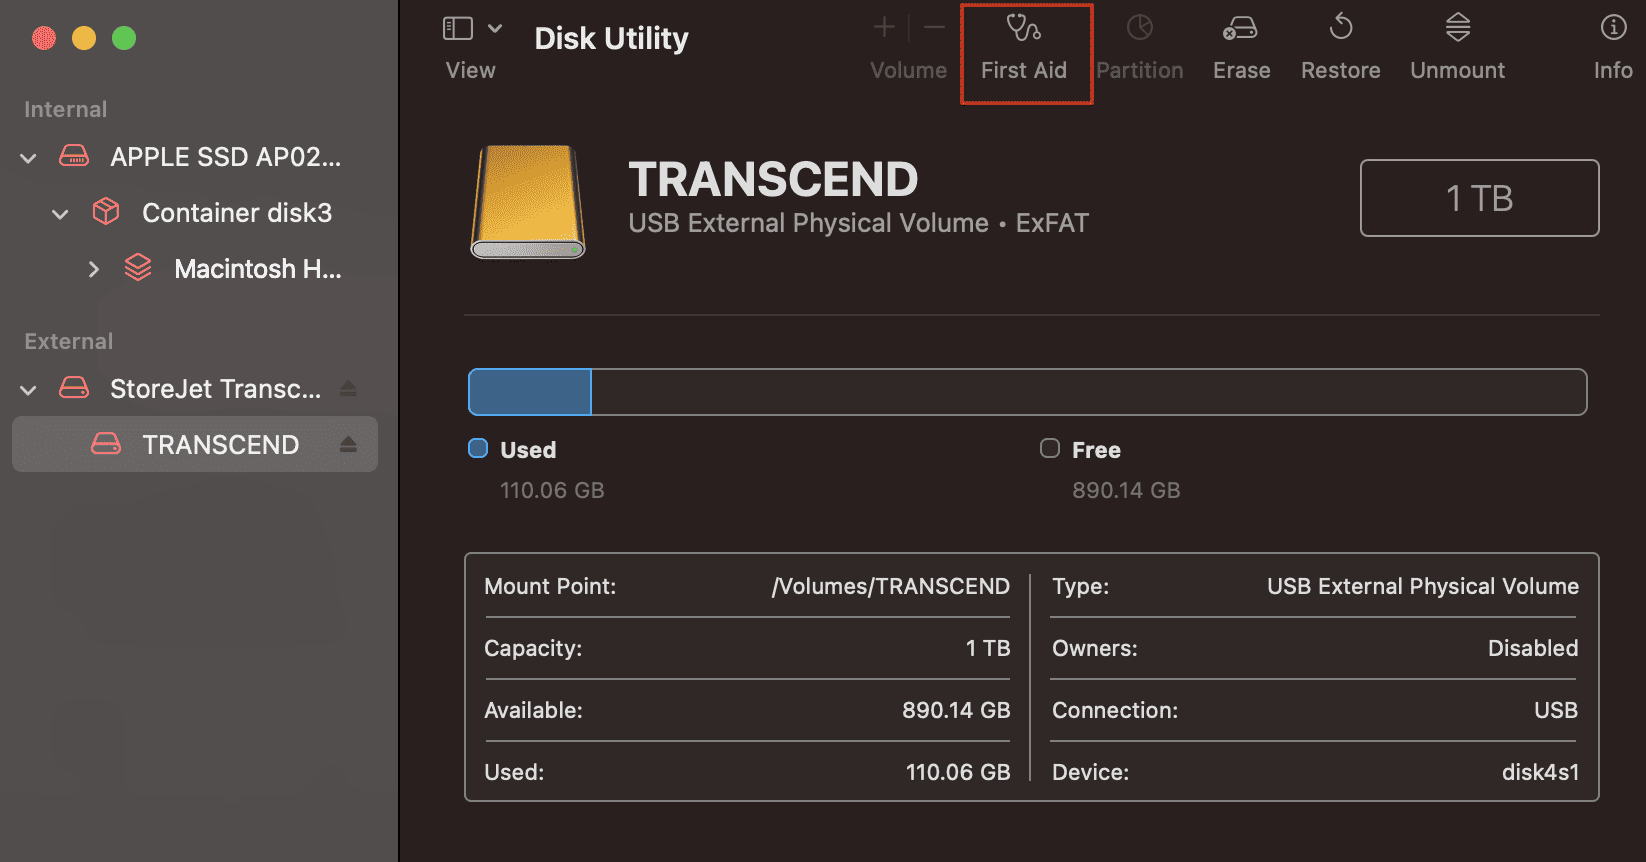
macOS provides a First Aid feature to its user with the aim of resolving any harddisk related issues. That is, when you run a First Aid test, the OS checks your disk for any faults, corrupted disk permissions, and signs of any issues. It’ll also try to fix these issues if possible. First Aid is accessed from the Disk Utility tool. If you can reach your Desktop screen, you can simply search for and open Disk Utility through the Spotlight. But, since the majority of users might fail to log in to their computers, you have to access this tool from the Recovery Mode.
For Macs With Intel Chips
For Macs With M1 Chips
Enter the Single-User Mode
Whenever there’s a startup issue on your Mac, you can turn to its single-user mode to fix the issue. The single-user mode lets you operate the system as a single superuser. It’s like the Terminal, meaning that there are no GUI elements, and all work must be done via lines of UNIX commands. Through the single-user mode, we shall try to repair your startup drive, and here’s how you do so:
Repair the Bootable Drive Permission
Another way to fix the blue screen on a Mac is by changing and repairing the bootable drive permission. This process is also carried out from the single-user mode, and here’s how to do so:
Clear Startup Items
Some applications are implemented to open automatically as soon as the system starts up. Although this might seem helpful at first, your computer has to allocate the required resources every time it starts up. This can result in various startup issues, including the one you’re facing right now.
Update macOS
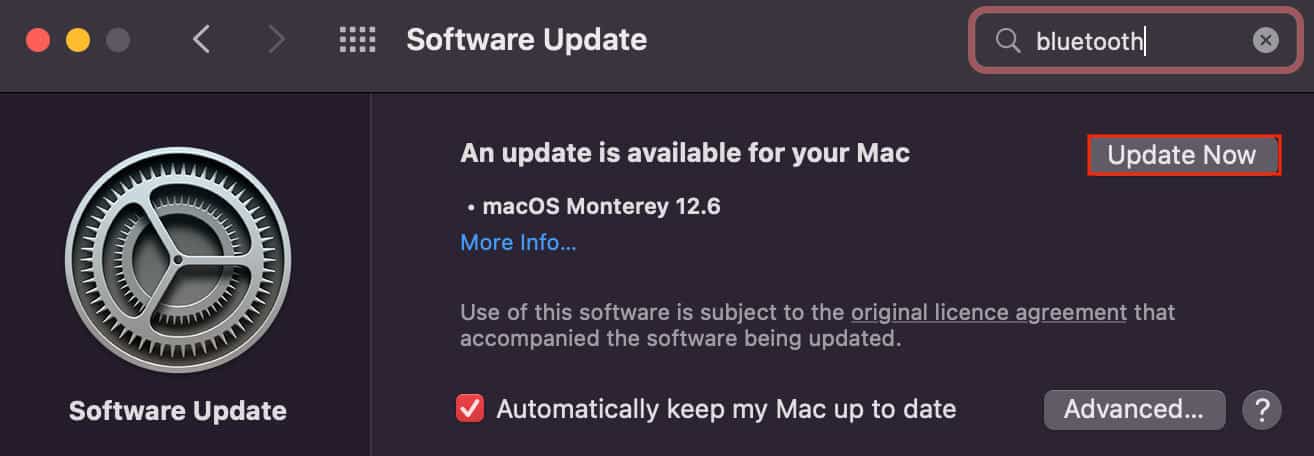
Startup problems and OS compatibility issues are mostly fixed after updating the system. Furthermore, Apple releases new firmware updates time and again, each install incorporated with new stability features and compatibility patches. So you can update your system to fix your blue screen.
Reinstall macOS
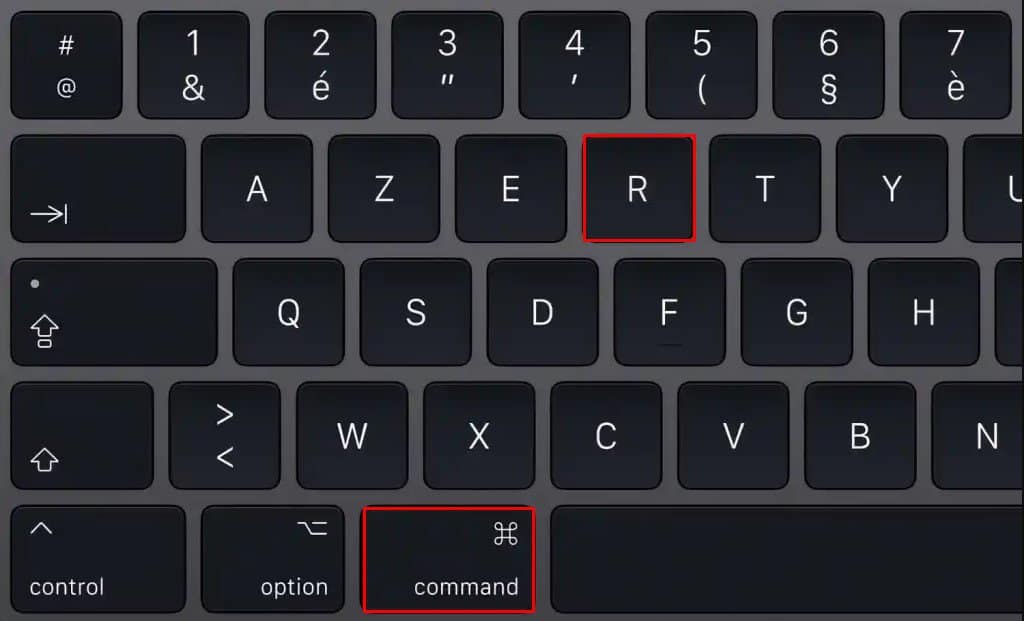
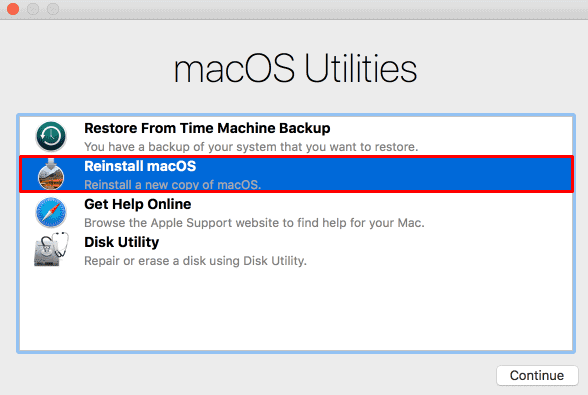
If the above methods don’t work, you have to reinstall the entire operating system. However, you do get an option to either delete all your data to install the OS or install the OS on top of the previous build without clearing any data. The process is carried out from the recovery Window, and here’s how you reach this mode depending on your hardware characteristics.
For Macs With Intel Chips
For Macs With M1 Chips

