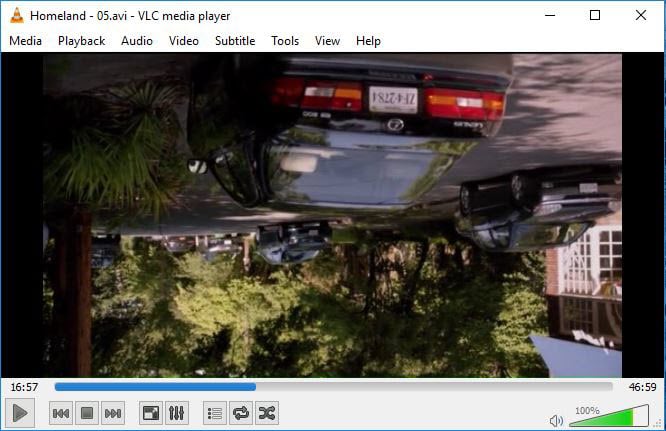
In this post, I’m going to talk about two free Windows programs that you can use for fixing upside down videos: VLC Media Player and Windows Movie Maker. The difference between the two is that with the former, the change is temporary and done on the fly in the program. With Windows Movie Maker, you can permanently save the changes to the file. If you just want to watch a video on your computer, then the temporary fix is probably the better solution. If you need to upload the video or share it with someone else, then you should use Movie Maker to permanently fix the issue. In addition, I’ll also mention how you can perform this task on a Mac and via a free online service.
VLC Media Player
Let’s start out with VLC, which is my favorite media player not only because it can play damaged video files, but also because it has pretty much every video codec built-in already. To rotate a video in VLC, first open your video file so that it is playing.
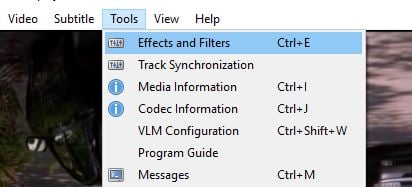
Now click on Tools and then Effects and Filters.
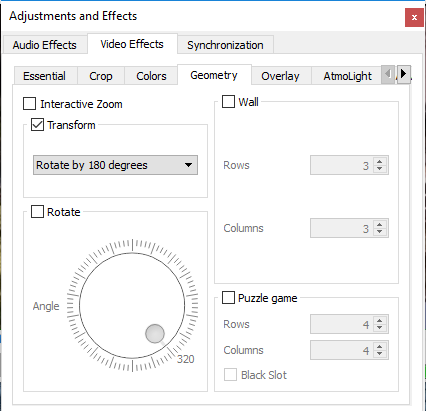
On the Adjustments and Effects dialog, click on the Video Effects tab and then click on the Geometry tab.
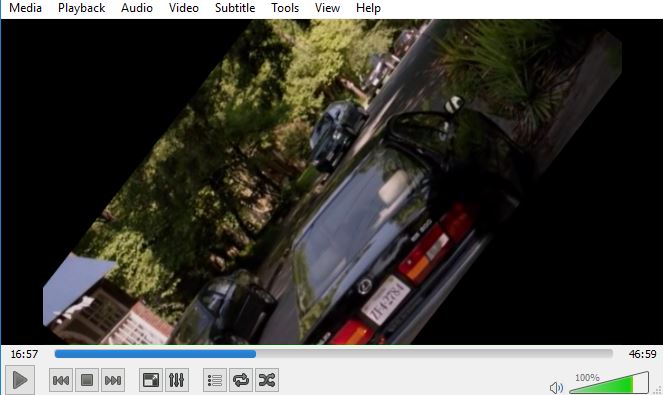
Here you can adjust the orientation of the video in two ways. The easiest way to flip the video is to just check the Transform box and then choose Rotate by 180 degrees from the drop down menu. As mentioned, this will just fix the issue in VLC. If you play the video in another program, it will still be upside down. Note that you only have to do this once in VLC. If you close the video and then play it again in VLC, it will remember your settings and apply them to the video, so you don’t have to do it over and over again. Also, you can check the Rotate button and then skew the video at any angle that you like. It’s kind of a strange option, but it exists!
Windows Movie Maker
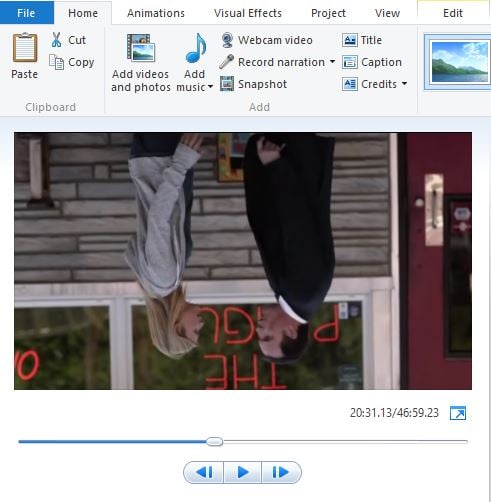
Using Windows Movie Maker, it’s super easy to rotate a video to the correct orientation. Once you load your clip, you should see a preview on the left and the scenes on the right.
Go ahead and click on the Home tab and you’ll see a Rotate Left and Rotate Right option at the far right of the ribbon.
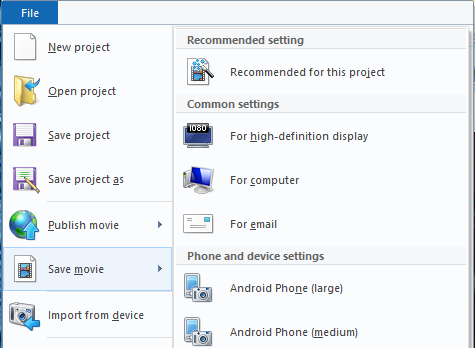
In order to permanently save this fix, you have to save your movie file out. Click on File and then Save movie.
Windows Movie Maker has a lot of options for saving your movie file depending on what device you will be viewing it on. Choose the option that best meets your needs. Also, be sure to read my post on burning a video DVD using Windows Movie Maker.
RotateMyVideo.net
If you don’t feel like downloading a program onto your computer, you could try a free online tool for rotating videos. The one I have used is RotateMyVideo.net.
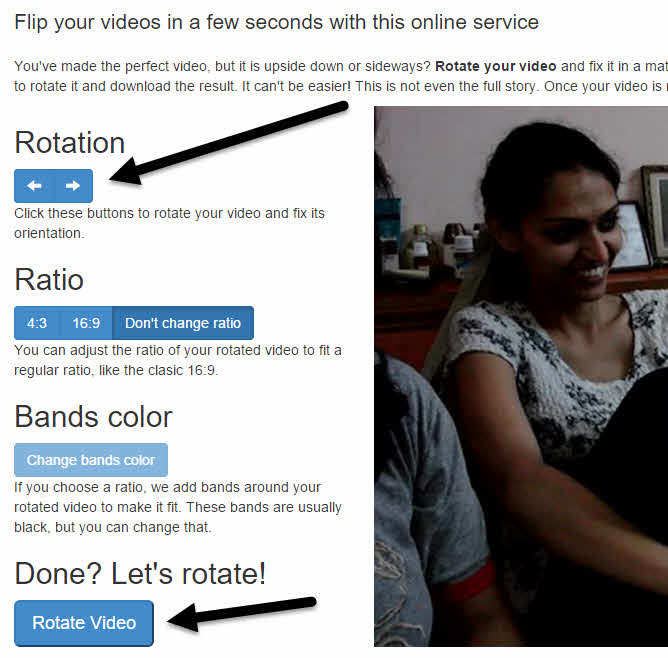
Click on Pick Video and then choose your video file. Note that the maximum file size for this service is 250 MB. Also, it doesn’t accept every type of video file, only the popular formats like MP4 and AVI.
After the video has been uploaded, you will see a preview of it on the right. On the left, you can click the buttons to change the rotation, ratio, and color bands. When you are done, click the Rotate Video button.
QuickTime Player
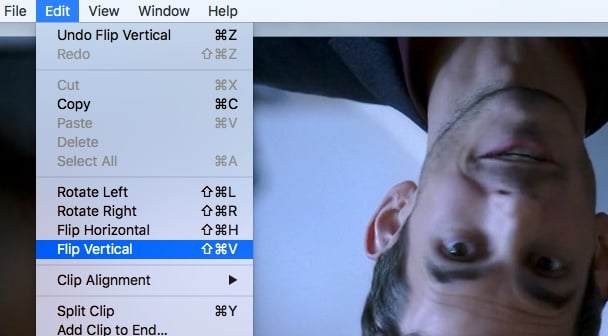
If you are using a Mac and want to fix an upside down video, you have to use QuickTime Player. Open the video file and then click on the Edit menu.
You’ll see options for Rotate Left, Rotate Right, Flip Horizontal and Flip Vertical. If you don’t export the file out, the change will only occur temporarily while playing the video. If you want to save it using QuickTime, go to File – Close and when it asks you if you want to save the changes, click the Save button. Those are the easiest ways to rotate a video if you have one that is upside down. If you have any questions, feel free to comment. Enjoy!
