However, if you want to become a real power user, you’ll need to learn to use Gmail keyboard shortcuts. Not only will it save you time, but it will also boost your overall productivity. Find some of the most useful keyboard shortcuts below and learn how to enable them in Gmail.
How to Enable Gmail Keyboard Shortcuts
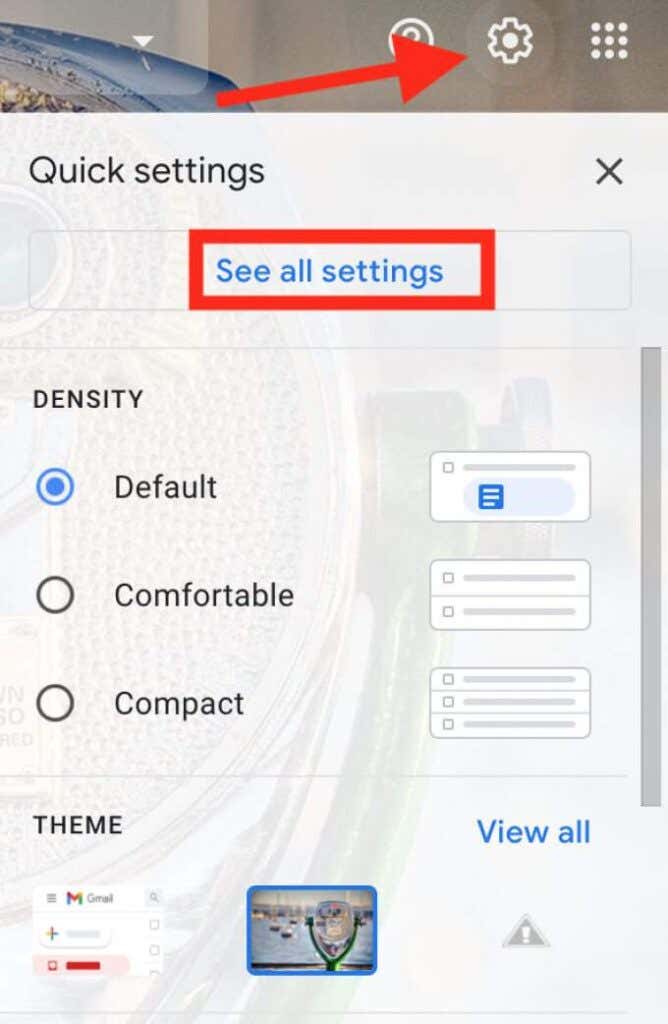
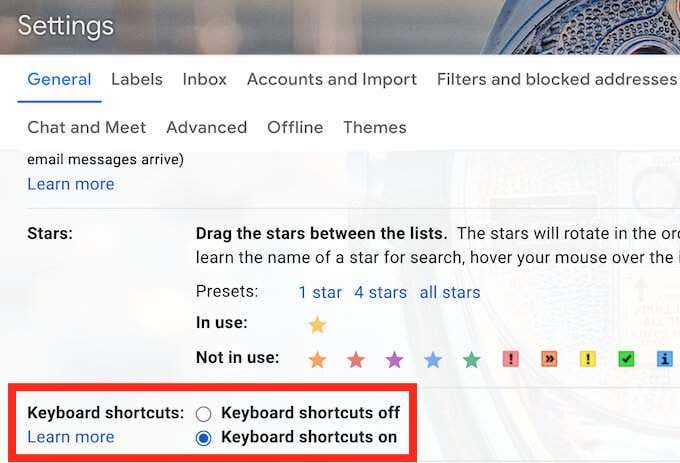
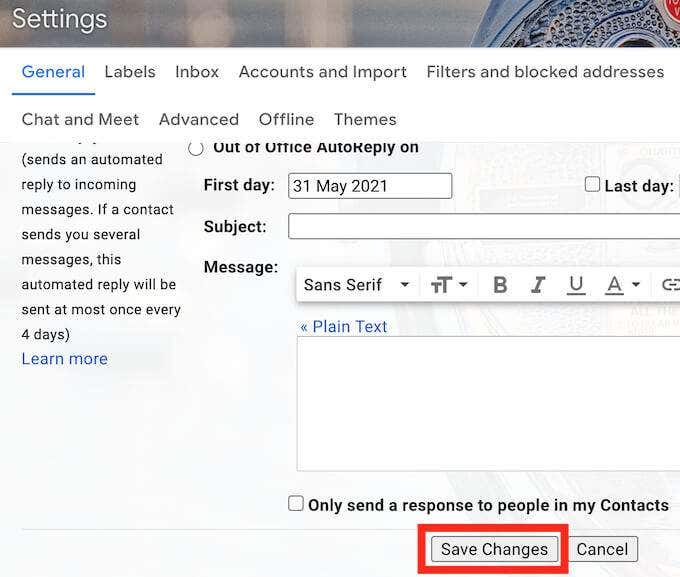
Before you can start using keyboard shortcuts in Gmail, you first need to enable them in your account Settings. The instructions are the same no matter which browser you use to access Gmail. You’ve now enabled keyboard shortcuts and can use them in your Gmail account.
Keyboard Shortcuts for Creating Emails in Gmail
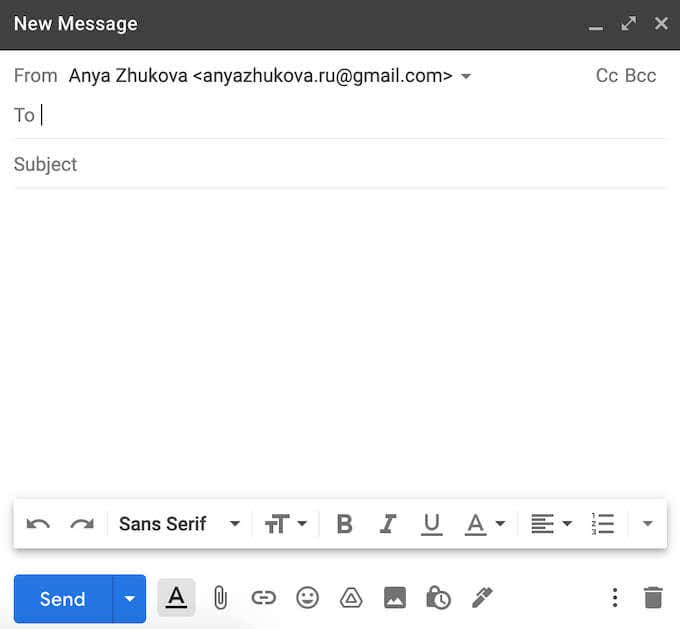
Composing new emails and email replies is something that takes up most of your time when working in Gmail. By using the following Gmail keyboard shortcuts you can create, send, forward, and reply to emails quicker. C – the C key opens the New Message window. D – the D key opens the New Message window in full-screen in a new browser tab. Ctrl + Enter (for Windows) or Cmd + Enter (for Mac) – this will send an open email. F – the F key will forward an open email. R – the R key opens the reply window. A – if you need to reply to all recipients of an email at once, use the A key. Tab or Shift + Tab – when composing an email, use these shortcuts to jump back and forth from one field of the New Message window to another.
Keyboard Shortcuts for Organizing Your Email
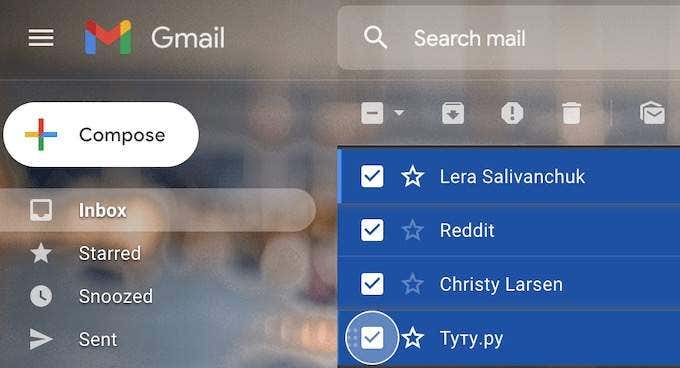
Another big task that people dread is sorting your Gmail messages and organizing your inbox. The following shortcuts will help you navigate through the messages and manage your inbox more effectively. J – use the J key to scroll down your email list. K – use the K key to scroll up your email list. N – the N key is handy when you need to scroll through an email thread with multiple conversations. Shift + U – when you don’t have time to deal with an email but don’t want to lose it in a pile of other messages, use this shortcut to mark it as Unread. For this shortcut to work you first need to open the email or select it from the list. Shift + = – go one step further and mark a conversation as Important to make sure you don’t lose it. Open an email or select it from the list, then use the shortcut. / – use the / key to quickly find an email by placing your cursor into the search bar. E – open an email or select it from the list, then use the E key to archive it. Shift + 3 – open an email or select it from the list, then use this shortcut to move it to Trash. Shift – when you need to select a bunch of emails at once (like when you need to delete them, or mark as Read/Unread), select the first email, then press and hold the Shift key while selecting the rest of the emails.
Keyboard Shortcuts for Text Formatting
When composing an email, you often need to emphasize certain parts to bring the recipient’s attention to them. You can easily accomplish that in Gmail with the special keyboard shortcuts for text formatting. Ctrl + B (for Windows) or Cmd + B (for Mac) – to get the bolded text effect, highlight the text that you wish to bold, then use the shortcut. Ctrl + I (for Windows) or Cmd + I (for Mac) – to get the italicized text effect, highlight the text that you wish to italicize, then use the shortcut. Ctrl + U (for Windows) or Cmd + U (for Mac) – to get the underlined text effect, highlight the text that you wish to underline, then use the shortcut. If you wish to undo any of the formatting, simply highlight the text and use the same shortcut again. Alternatively, you can use the following keyboard shortcut: Ctrl + Z (for Windows) or Cmd + Z (for Mac) – to cancel (undo) the previous action. Ctrl + Shift + 7 (for Windows) or Cmd + Shift + 7 (for Mac) – to add a numbered list to your email, place the cursor where you want your list to start and use the shortcut. Ctrl + K (for Windows) or Cmd + K (for Mac) – when you need to insert a URL into your email, highlight the text and use the shortcut to insert the hyperlink. Ctrl + Shift + 8 (for Windows) or Cmd + Shift + 8 (for Mac) – to add bullet points to your email, place the cursor where you want the list of bullet points to start and use the shortcut.
The “Go to” Keyboard Shortcuts
If you don’t feel like memorizing too many shortcuts, you can limit yourself to the Go to set of Gmail shortcuts. The Go to shortcuts speed up the process of navigating Gmail tremendously. You can use them to jump from one folder to the other in just a couple of clicks. Note that with these shortcuts, you need to press the individual keys separately (one by one) rather than at the same time. G + I – use this shortcut to open Inbox. G + S – use this shortcut to go to your starred emails in Gmail. G + T – use this shortcut to open your Sent messages. G + D – use this shortcut to jump to the list of your email Drafts. G + A – use this shortcut to see all of your emails on the same page. G + C – use this shortcut to open your contact list. G + K – use this shortcut to open Google Tasks.
Where to Find the Rest of the Keyboard Shortcuts in Gmail
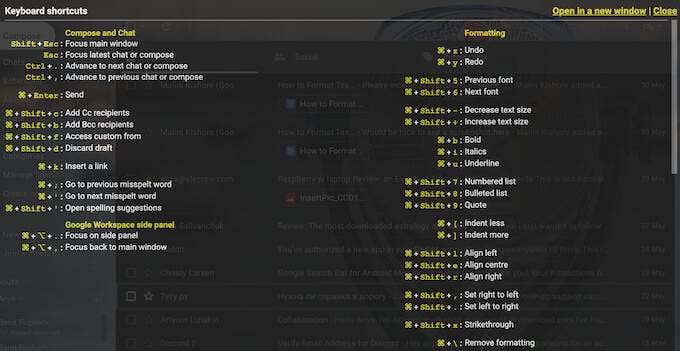
While knowing these shortcuts can save you a lot of time, memorizing all of them at once seems like a difficult and unnecessary task. That’s not to mention these aren’t all of them, and there are many more keyboard shortcuts that you as a Gmail user might find helpful. Luckily, there’s a master keyboard shortcut that you can use to open the list with all of the keyboard shortcuts in Gmail. It is Shift + ?. This will open a cheat sheet on top of your Gmail page with all of the shortcuts. Have you used keyboard shortcuts for working in Gmail before? What are some of your favorite shortcuts? Share your experience using shortcuts in Gmail in the comments section below.
